


Cake Box Packaging Guide
Jul 30, 2026

Premium Packaging Solutions

Retail & Food Bags
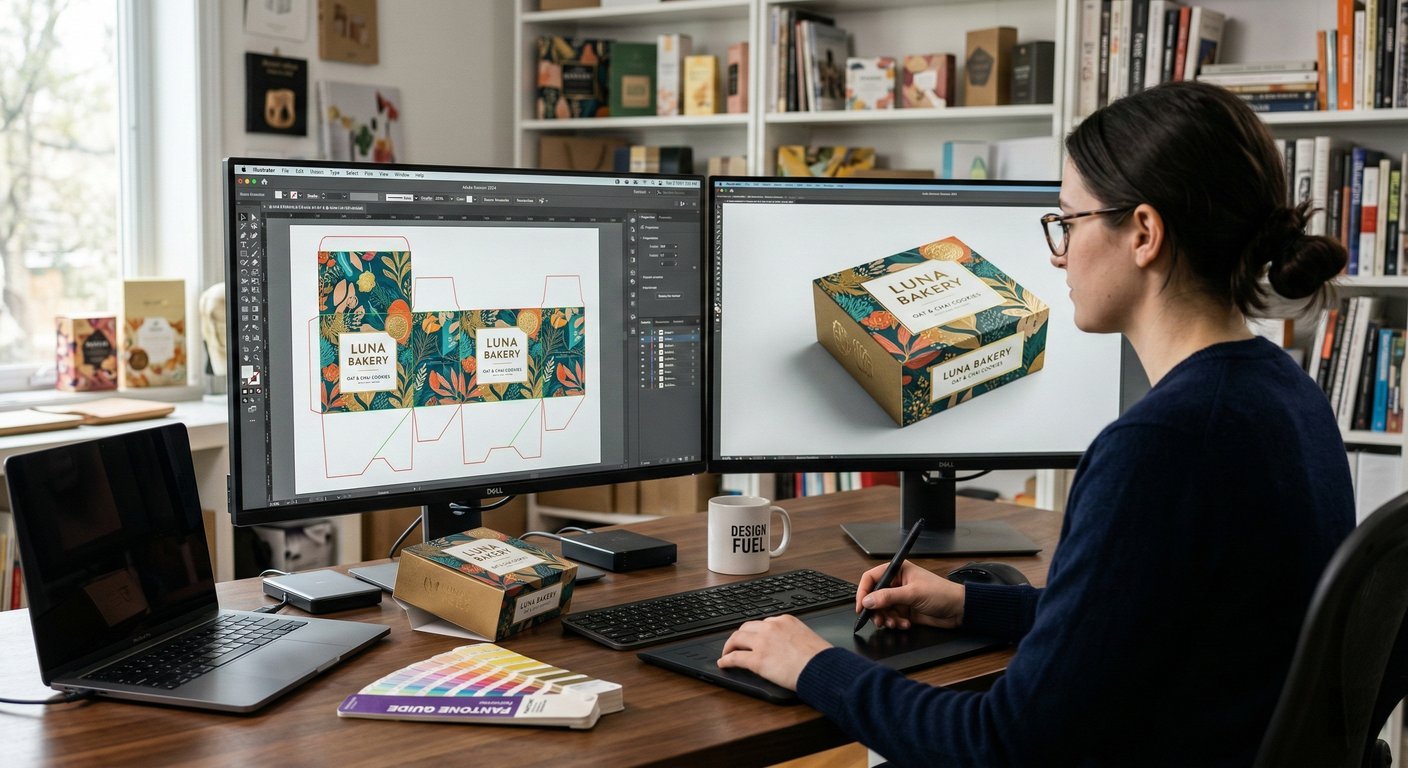
Every brand wants their custom packaging to look stunning upon arrival, but receiving an artwork rejection email from a manufacturer can completely derail your product launch timeline. The bridge between a beautiful digital screen design and a flawless physical box is meticulous file preparation. By utilizing a comprehensive packaging prepress checklist, you can eliminate frustrating back-and-forth communication, prevent costly misprints, and guarantee that your final product matches your exact creative vision from the very first print run.
A packaging prepress checklist is a standardized sequence of quality control verifications applied to digital artwork files before they are sent to the printing plates. In the printing industry, what you see on a computer monitor does not automatically translate to ink on paper or cardboard. Monitors use light to project colors, while printers use physical ink layered onto substrates.
Because of these fundamental mechanical differences, design files must be formatted to speak the specific technical language of commercial printing machines. For instance, commercial offset and digital presses rely heavily on the CMYK color model, combining Cyan, Magenta, Yellow, and Key (Black) to produce a vast spectrum of colors. Submitting files without configuring these technical specifications properly is the leading cause of artwork rejection, production delays, and unexpected color shifts.